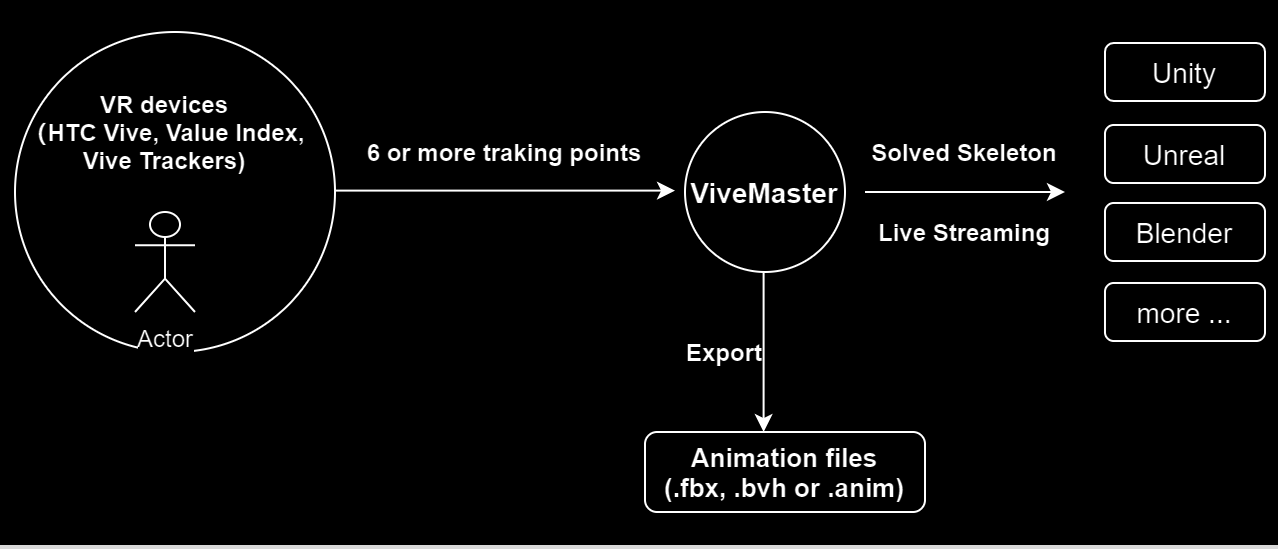
Overview

ViveMaster is a low-cost but accurate full body motion capture solution. It uses VR hardware to track 6 or more body points, and solve full body motion by inverse-kinematic(IK) algorithms.

ViveMaster is designed for game developers, animators, vTubers, short film makers, interactive artists ...

ViveMaster supports various kinds of VR devices, including HTC Vive, Valve Index, Vive Trackers and Tundra Trackers. It receives data from VR trackers and solves body motion in real-time, the motion data can be saved as animation files or streamed to game engines.

Mobirise

ViveMaster workflow

Hardware Requirements

ViveMaster needs to track at least 6 body points (head, hands, waist and feet).
To do that, you'll need:

2 lighthouse base stations

and

6 tracking devices (HMD, controller, Vive Tracker, Tundra Tracker can all be counted as tracking device).

Different Tracking Device Combinations

hmd
+
2 controllers
+
3 trackers
hmd
+
5 trackers
2 controllers
+
4 trackers
6 trackers
  • note that hmd can be HTC Vive headset (Pro or Cosmos series), or Valve Index headset
  • note that controller can be HTC Vive controller or Valve Index Knuckles
  • note that tracker can be Vive Tracker 2.0, Vive Tracker 3.0 or Tundra Tracker

Installation

For now, ViveMaster only supports Windows 10 system.

1. Download ViveMaster from: patreons.com/flymoc 

2. Unzip and run FlyMoc ViveMaster Studio directly, there is no need to install.

Tracker Placements

It's very important to place trackers correctly!

Head

HMD

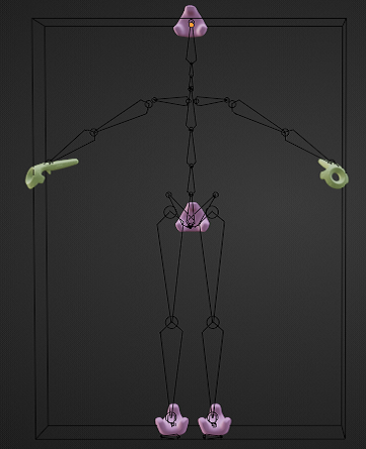
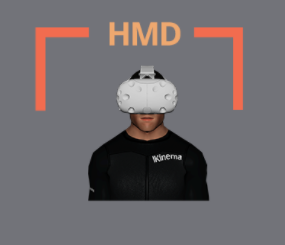
If you use a headset to track head position, nothing special here, just put on the headset normally.

Tracker

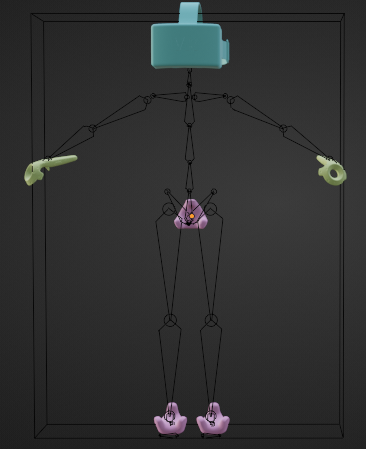
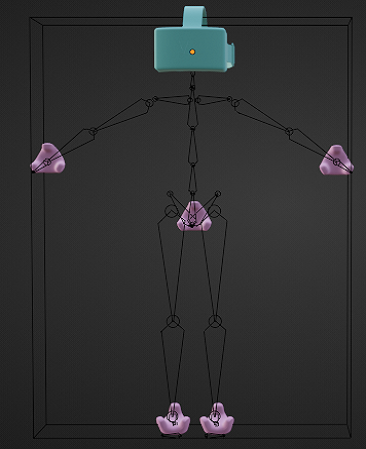
Strap the tracker (Vive Tracker or Tundra Tracker) to your forehead.

Hands

Vive Controller

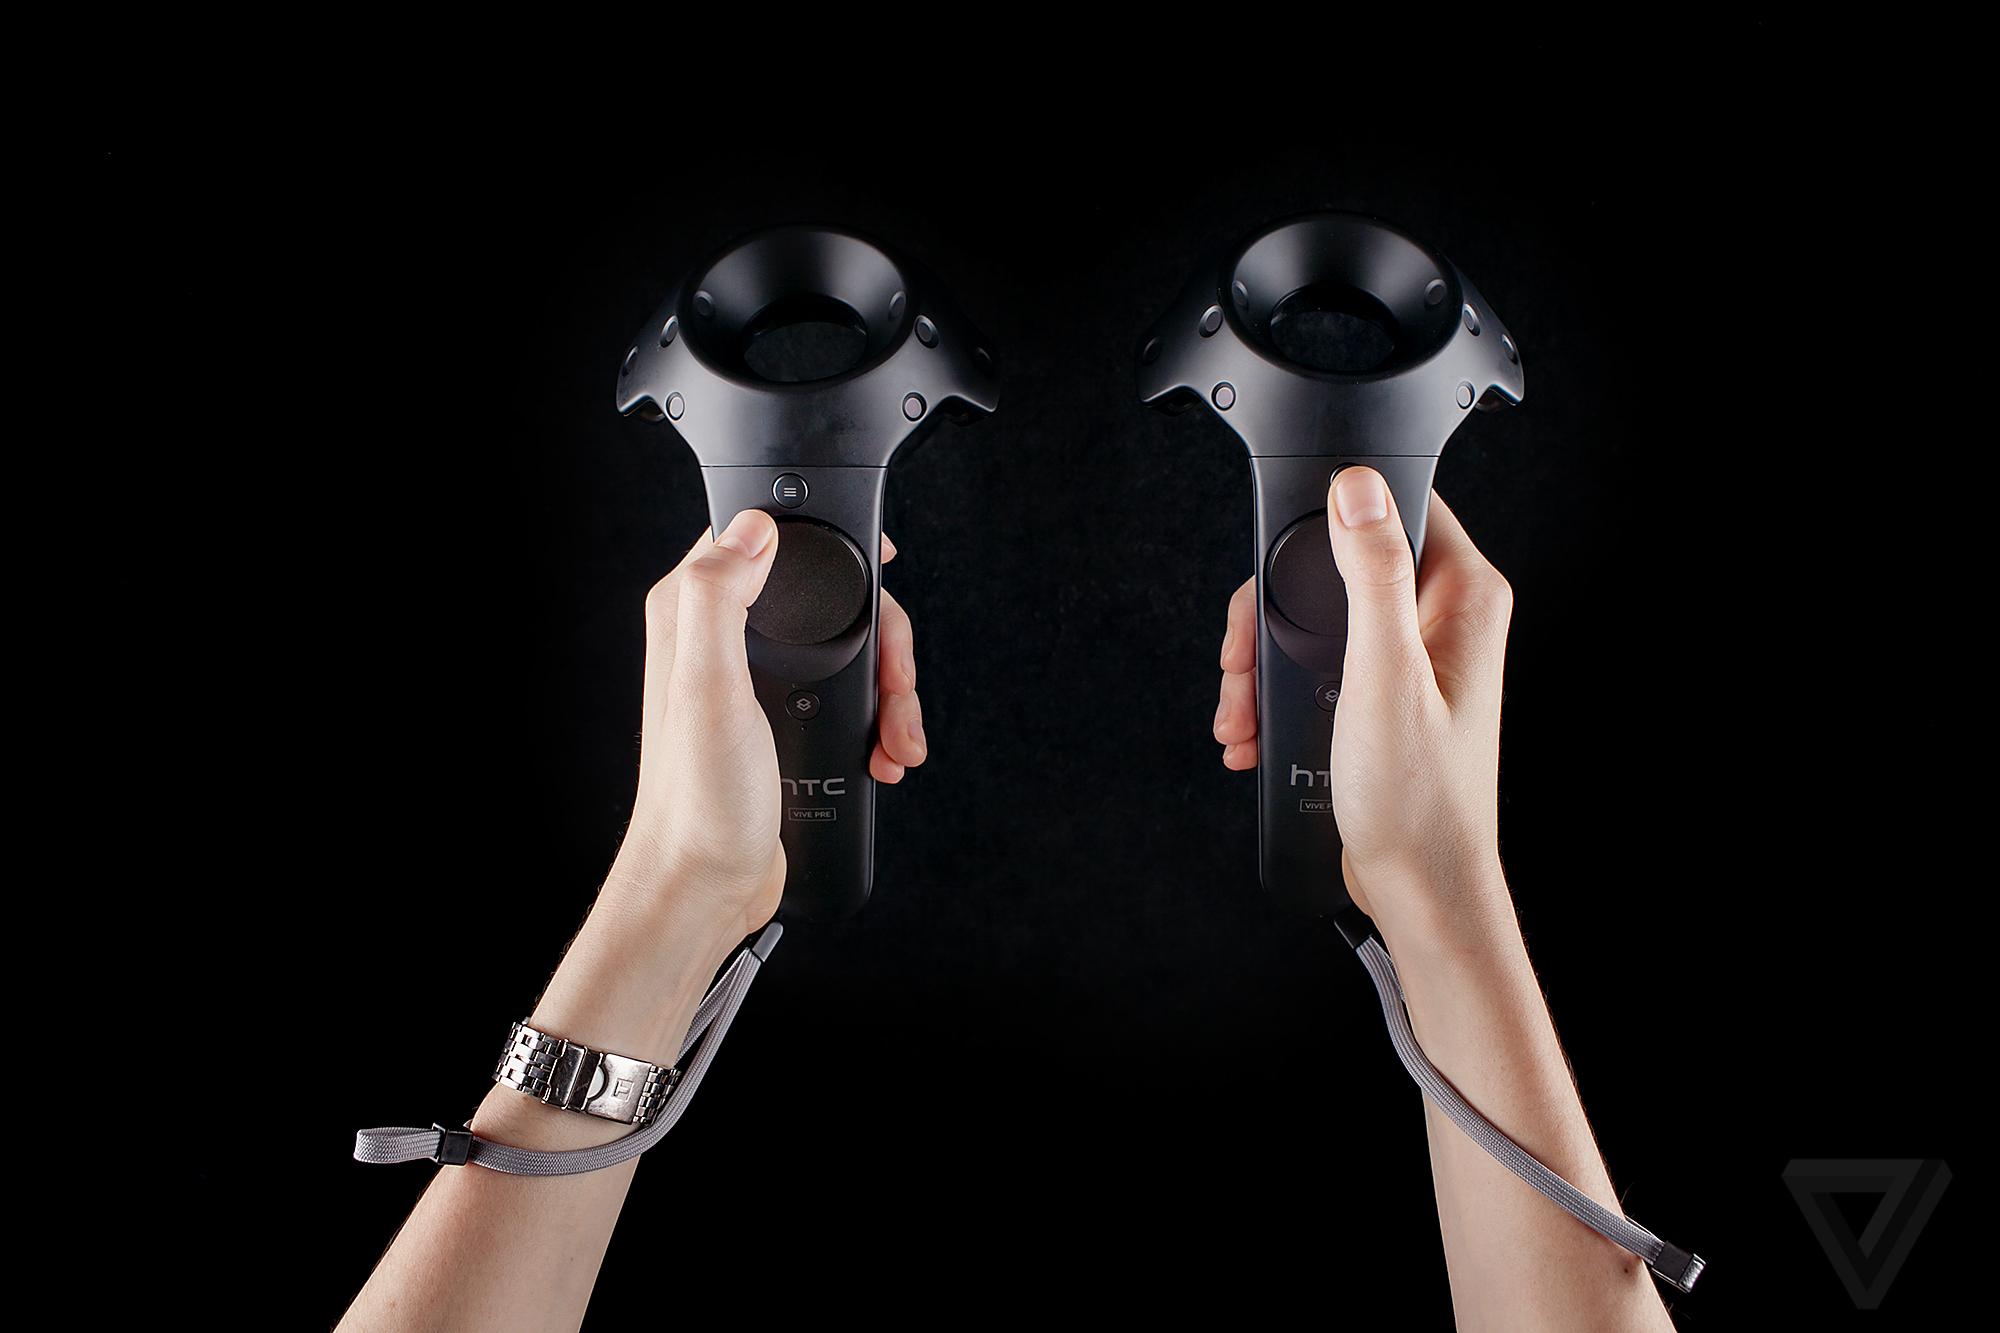
If you are using Vive Controllers to track hands, just hold them naturally: make sure that the thumb is near the touchpad, and the index finger is near the trigger.

Valve Knuckles

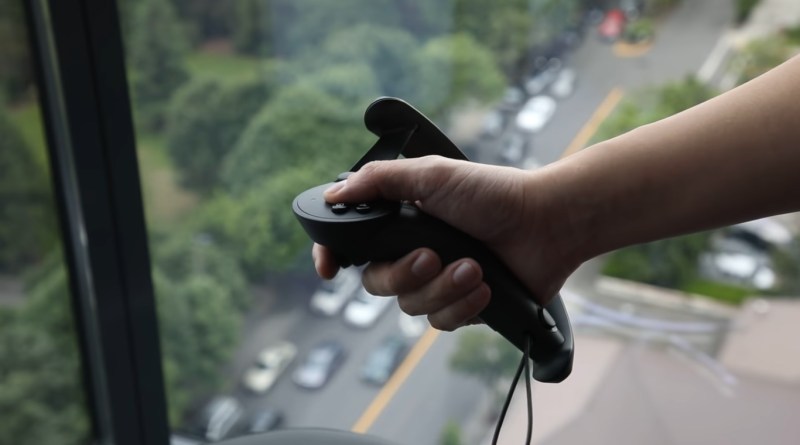
Just hold the Knuckles like the above picture, put the thumb on touchpad and index finger on the trigger.

Tracker

If you'd like to use trackers to track hands, strap the tracker to the wrist.

Waist & Feet

Waist

Put the tracker near the waist line: no matter front, back or side.

Feet .1

You can strap the feet trackers to the ankles (not recommended).

Feet .2

Alternatively, you can strap the trackers to your shoes to track feet (recommended).

Setup SteamVR

1

Room Setup

Launch Steam and SteamVR, go through SteamVR 'room scale' setup (this is mandatory because we need to calibrate the ground). Refer to this video tutorial if necessary.
2

Manage trackers

In order to avoid issues with mixed-up trackers and controllers, it is considered best practice to define which tracker goes where in SteamVR. Here's how you do this:
1. Turn on all your tracking devices, like controllers and trackers.
2. In the SteamVR window, click the three lines (the "hamburger menu") in the top left. Hover over "Devices", 4. then click on "Manage Vive Trackers."
3. In the window that pops up, click "Manage Vive Trackers" again.
4. You'll see a list of your tracking devices. You can click the dropdown to the right and assign them to your Left Foot, Right Foot, or Waist.
5. To help identify them, choose one of your trackers. Hold down the button on the other two until they turn off. The screen will show a green icon next to trackers that are on, and a red icon next to the ones that are off. Now, you can see which tracker is which. Assign appropriately.
6. Identify and assign the other two trackers. It may be helpful to label your trackers or keep track of them somehow so you always use them for the appropriate tracking location.
3

Start ViveMaster

Now you can launch ViveMaster, check tracker statuses, calibrate and do motion capture. 

Calibration

1. Enter calibration.
2. If you are using controllers to track hands, just stand in T-pose (keep your head straight up and look directly forward, keep your palms facing downward, keep your feet one-foot-wide apart), and pull both triggers on your controllers simultaneously.
3. Or if you are using trackers to track hands, since there is no trigger on tracker, you need to click the 'Calibrate' button and a countdown timer will start, make sure you are in calibration pose before the countdown ends.
4. If the calibration succeed, congratulations, you are ready to go!

Mobirise

Built with Mobirise site template